Creators, podcasters, and marketers still rely on MP3 because it is small, easy to share, and accepted everywhere. The fastest way to get there is by sending your video through an online audio extractor that already understands modern loudness and bitrate targets.
This guide walks you through MP4 to MP3 using Audio Extractor plus the small quality tweaks that prevent hollow or metallic sound.
Choose the right format and bitrate
MP3 works for most publishing, but sometimes you should export WAV or AAC first and transcode later.
| Use case | Best format | Bitrate / depth | Why |
|---|---|---|---|
| Podcast dialogue | MP3 | 160-192 kbps CBR | Balanced quality and size; easy ID3 tagging. |
| Shorts & social clips | MP3 | 128-192 kbps | Fast uploads, acceptable on phones. |
| Music-heavy edits | MP3 or AAC | 256-320 kbps | Preserves transients and stereo width. |
| Master copy | WAV | 24-bit / 48 kHz | Keeps a lossless archive for remixes. |
Tip: If you expect heavy EQ or noise reduction later, extract WAV first using Audio Extractor, process it, then export an MP3 from that master.
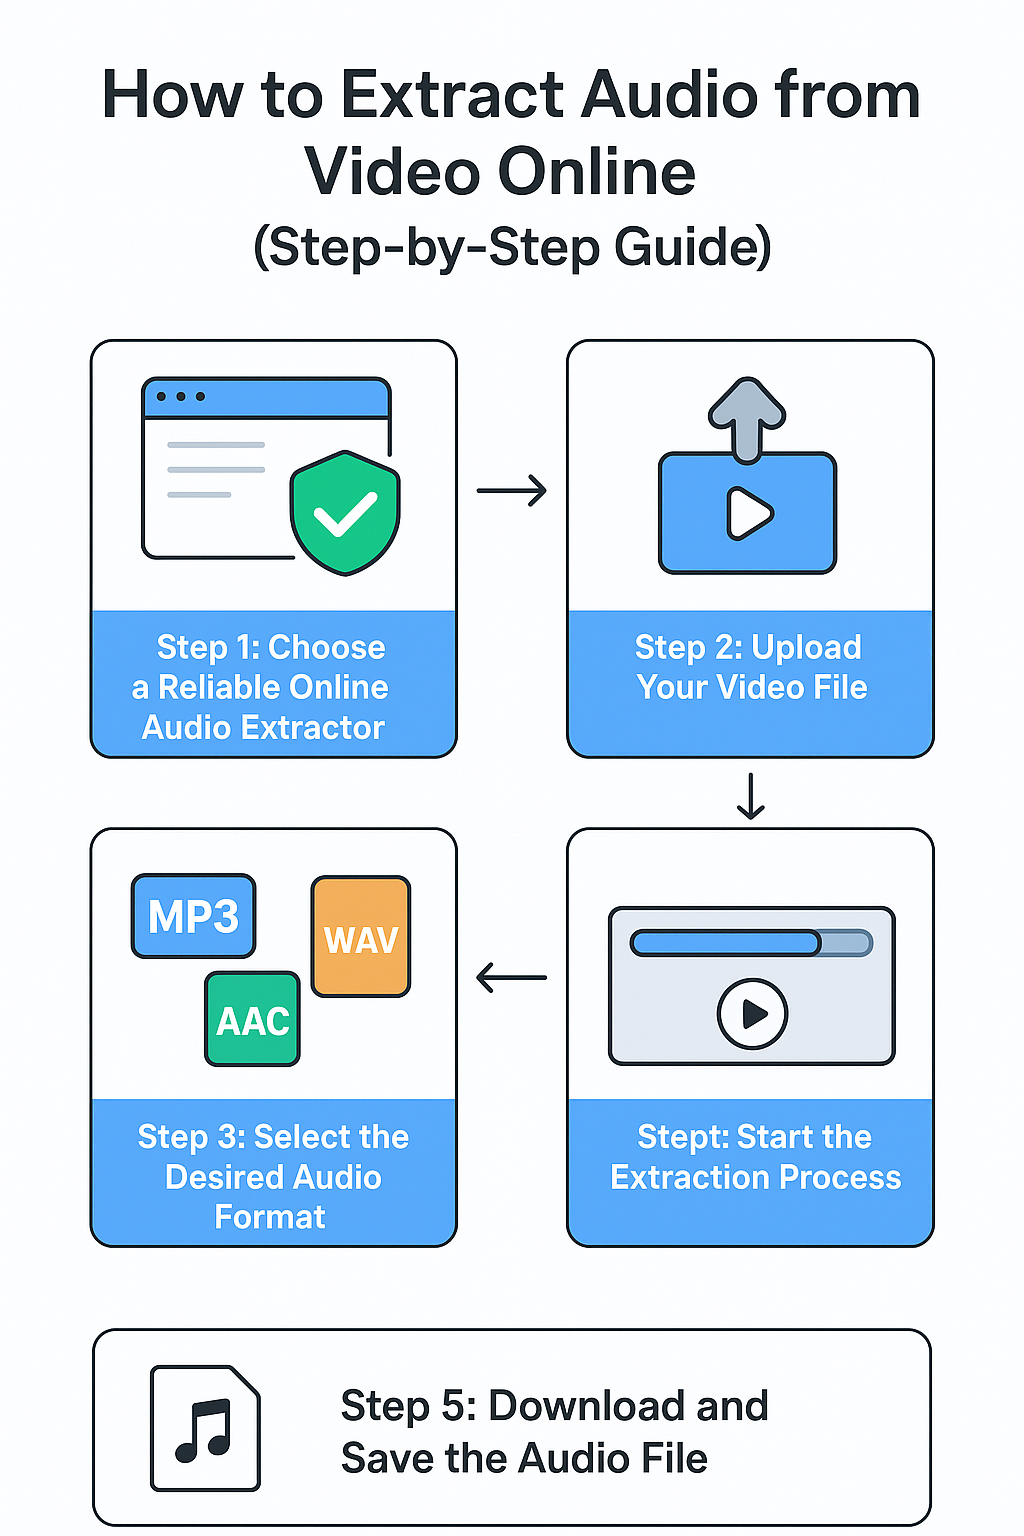
Step-by-step: MP4 to MP3 in Audio Extractor
- Open Audio Extractor and upload your MP4, MOV, or MKV file.
- Pick MP3 as the output. For speech, set bitrate to 192 kbps; for music, choose 256-320 kbps.
- Keep the sample rate matched to your source (usually 48 kHz for video, 44.1 kHz for music). Avoid upsampling.
- Click Extract Audio and wait for the browser conversion to finish.
- Play the preview inside the browser. If you hear hiss, re-run the export from a cleaner source or try WAV first.
Keep loudness consistent across episodes
Streaming platforms normalize audio. Export close to their targets so your MP3 survives the adjustment without distortion.
- YouTube: around -14 LUFS integrated.
- Spotify/Apple Podcasts: -16 LUFS stereo (-19 LUFS mono).
- Webinars/meetings: -18 to -20 LUFS to leave headroom for speakers.
If your editor supports it, meter loudness before uploading. Otherwise, run a gentle limiter at -1 dB ceiling with no more than 3 dB gain reduction.
Avoid common artifacts
- Metallic or watery sound: Lower noise reduction strength; re-export at a higher bitrate (256+ kbps) or from WAV.
- Phasey stereo image: Convert to mono for voice-only shows and re-export at 128-160 kbps.
- Chopped sentences: Ensure the video is not variable frame rate; re-encode the source video first, then extract.
Add clean metadata for search
After download, add ID3 tags so podcast apps and file explorers display the right info.
- Title: Match the episode name and primary keyword (e.g., "AI Audio Cleanup - mp4 to mp3 workflow").
- Artist: Your show or brand name.
- Album: Series name or campaign name.
- Cover: 1400-3000 px square JPG or PNG under 1 MB.
- Comment: Add a short CTA with your site URL (e.g., "Extracted with Audio Extractor - https://audio-extractor.org").
Fast checklist
- Upload MP4/MOV to Audio Extractor and choose MP3.
- Match sample rate to the source; use 192 kbps for speech, 256-320 kbps for music.
- Meter loudness near -14 to -16 LUFS with a limiter at -1 dB.
- Tag the MP3 with title, artist, and cover art before publishing.
Follow these steps and you will get a compact, studio-ready MP3 without leaving the browser, and you will always have a clean WAV master ready if you need to remix later.